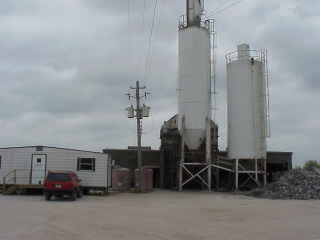
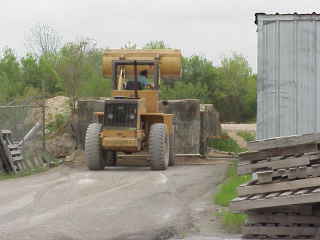
| On Friday, March 29, I worked at Southwest Concrete Products helping to
make concrete bricks. To the left is the administrative trailer with the
'silos' holding cement (I presume) and the brick making factory/shed behind it. |
 |
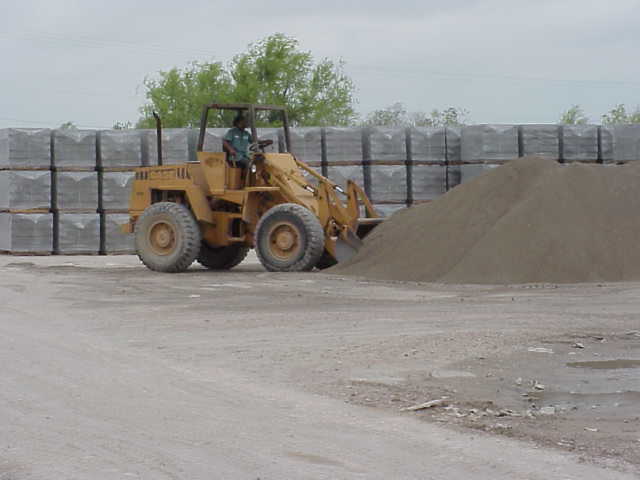
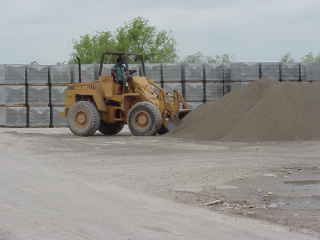
| The process starts with a front loader mixing 'dirt' with sand. The
result is that the sand looks like it is mixed with cement but it won't
set if it gets wet. I assume that the dirt is really crushed lime and
such that has not been finished into cement, but don't know for sure. |
 |
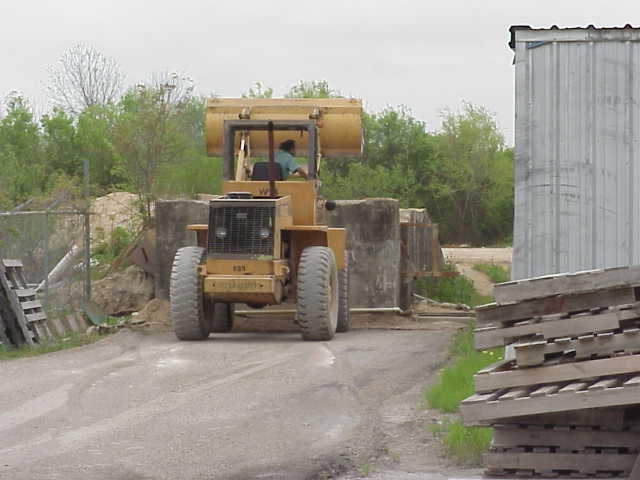
| Then the front loader dumps the dirt into a bin with a hole in the bottom
that is behind the factory/shed. They normally work straight through all
day with no breaks except 20 minutes for lunch. However, this was Good Friday
(and most of the workers are Hispanic and Catholic) so they even skipped lunch
as they wouldn't eat meat when the trailer would have come by. The only reason
I had a chance to take these pictures is because the conveyor belt to load this
sand mixture slid off center. |
 |
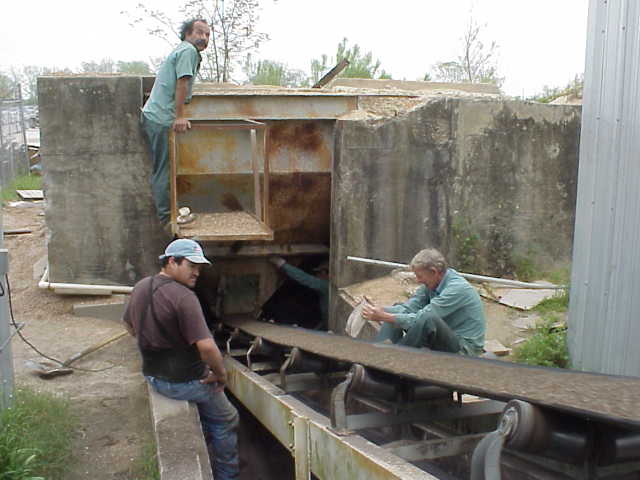
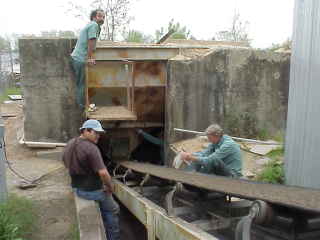
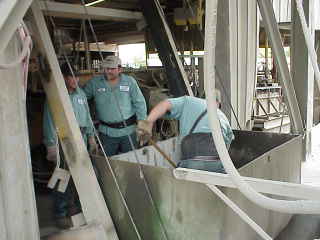
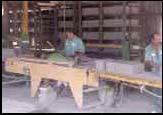
| Here is some of the crew working to move the conveyor belt back to center.
The equipment they use was made in the 50's and they can no longer get parts
for it. They do a lot of welding to repair things as they break. New machinery
is faster and all computerized, but it would also cost about two million dollars,
so they make do with what they have for now. |
 |
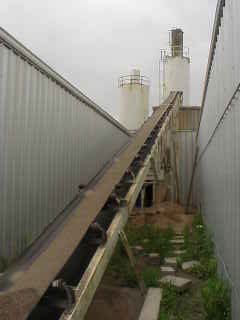
| This conveyor belt goes from the back of the building between the two
sections where the drying bricks are stored and over the front to dump into
one of the storage areas above the front section. They had disassembled
this conveyor belt a few years back and reassembled it, but it was not
very straight after that. |
 |
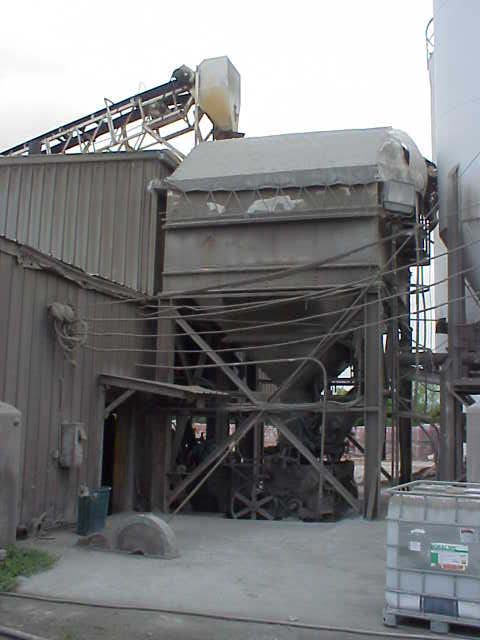
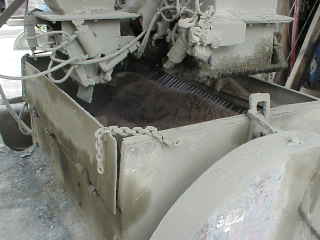
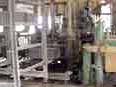
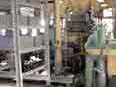
| The sand mixture and concrete are mixed together with water by machinery
at the front of the building underneath the storage bin at the end of the
conveyor belt as shown here. |
 |
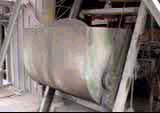
| The sand, concrete, and water are fed into this mixer which then does
what you would expect of a cement mixer. |
 |
| Here is a 5 second video (120K, about 40 second download) of cement and
sand being mixed in the mixer. It is just below ground level and the ingredients
are fed from 'silos' above it. |
If your browser is not set up to show movies you will get an error dialog box instead of a player and can just press cancel. |
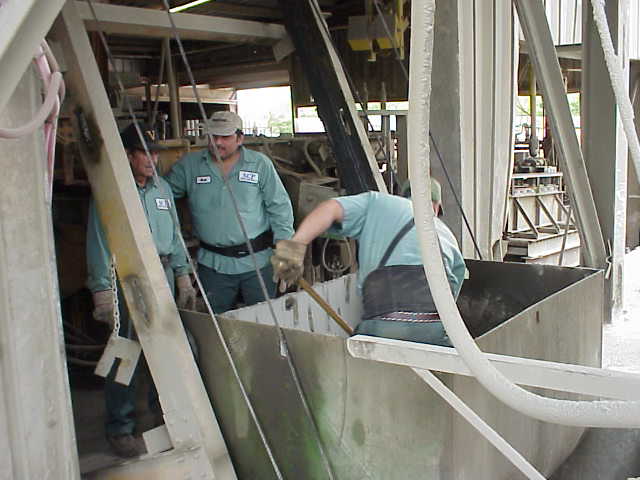
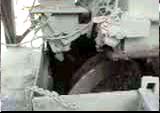
| The mixer has a door on its bottom which allows it to empty a bin. This bin
is on cables to lift in above the brick making machines. While we were working
on the sand mixture conveyor belt, one person turned off the compressed air.
Then, while they were mixing a new batch of concrete, the door opened prematurely
and the incomplete mixture dumped into the bin. Drats! Here is one of the crew
shovelling it from the bin (stationary and part way up) into the mixer (once the
compressed air was back up to pressure). |
 |
| Here is a 5 second video (120K, about 40 second download) of the bin being
raised with a load of mixed concrete. |
If your browser is not set up to show movies you will get an error dialog box instead of a player and can just press cancel. |
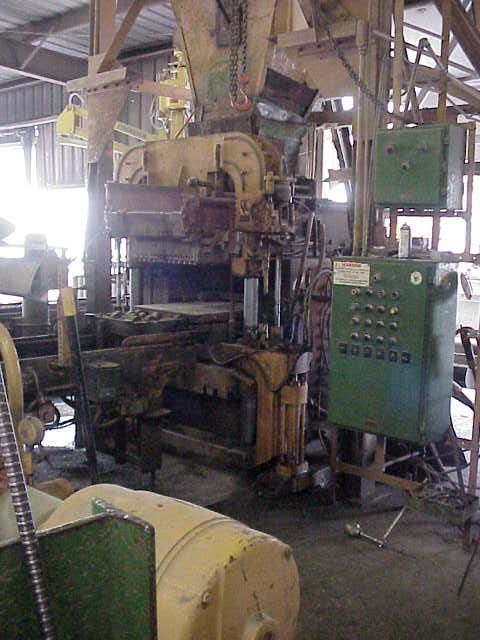
| This is the machine that actually presses the concrete into the molds and
makes the bricks. |
 |
| Here is a 5 second video (120K, about 40 second download) of the machine
which presses out the bricks releasing the bricks. They are slowly advanced
to the next device. |
If your browser is not set up to show movies you will get an error dialog box instead of a player and can just press cancel. |
| Here is a 5 second video (120K, about 40 second download) of bricks being
put onto a rack for drying. I was impressed by how smoothly all the bricks were
processed, but that is probably by intent as sharp movements could break the
recently formed bricks (at least until they set). |
If your browser is not set up to show movies you will get an error dialog box instead of a player and can just press cancel. |
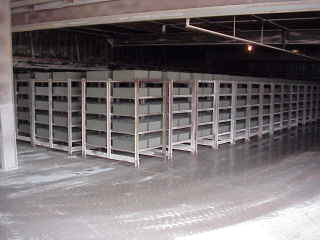
| The racks are then taken by a forklift to an area to set/dry (one day I
presume). Here is a view of the front of one such area. It is mostly unlit,
so only the light from outside allowed this picture. Later, the forklift
operator brings back the rack of set bricks to right next to where they came
from so that the iron plates they were pressed on can be reused for new
bricks. |
 |
The bricks are taken off the racks in reverse of how they were put on
(looks very similar). They are then pushed off the plates and
positioned for stacking on a pallet. Here is a 5 second video (120K,
about 40 second download) of the dried bricks being turned for stacking
on the pallet. |
If your browser is not set up to show movies you will get an error dialog box instead of a player and can just press cancel. |
| Here is a 5 second video (120K, about 40 second download) of 24 dried bricks
being pushed onto a pallet. The forklift operator would take the full pallet
over to my area for shrink wrapping. He would also take the shrink wrapped pallet
away for storing until needed. |
If your browser is not set up to show movies you will get an error dialog box instead of a player and can just press cancel. |
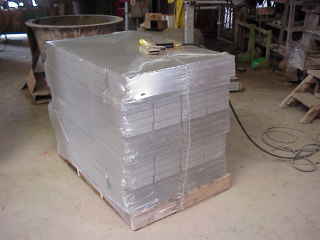
| Here is a pallet of 240 bricks (2" by 12" by 8") which I have shrink wrapped
using the propane torch shown. The brick press took 15 seconds to make 12
bricks, so each pallet would take 5 minutes to fill. I would drape an envelope
of plastic over a full pallet. I was made of the standard .005 plastic tarp and
would have been a sheet of about 9 feet by 12 feet except that it was folded in
half along the 9 foot side and the now six foot sides were melted together to
close them. When shrink wrapping I needed to avoid heating the melted together
edges as they would come apart. I would start with heating the bottom edge
(after folding the top nicely down) and then carefully heat all the rest enough
so that it would mlet a little and get taut (no waves at all) but without over
heating so that holes would develop. Much more of an art than it would seem at first. |
 |
| In this picture you saw earlier on this page, you can see rows and rows of
pallets of bricks waiting shipment to customers. |
|